Wondering why your bike brakes feel weak, noisy, or unresponsive? This guide shows you exactly how to check and replace your disc brake pads—ideal for beginners and DIY bike maintenance.
Why Should You Check Your Bike’s Disc Brakes?
Regular disc brake checks help keep your bike safe and responsive. If your brakes feel spongy, make squealing or grinding noises, or need more pressure to stop, it likely means:
- Your brake pads are worn
- The rotor is contaminated or warped
- The caliper may be misaligned
Ignoring these signs can lead to dangerous riding conditions or costly repairs.
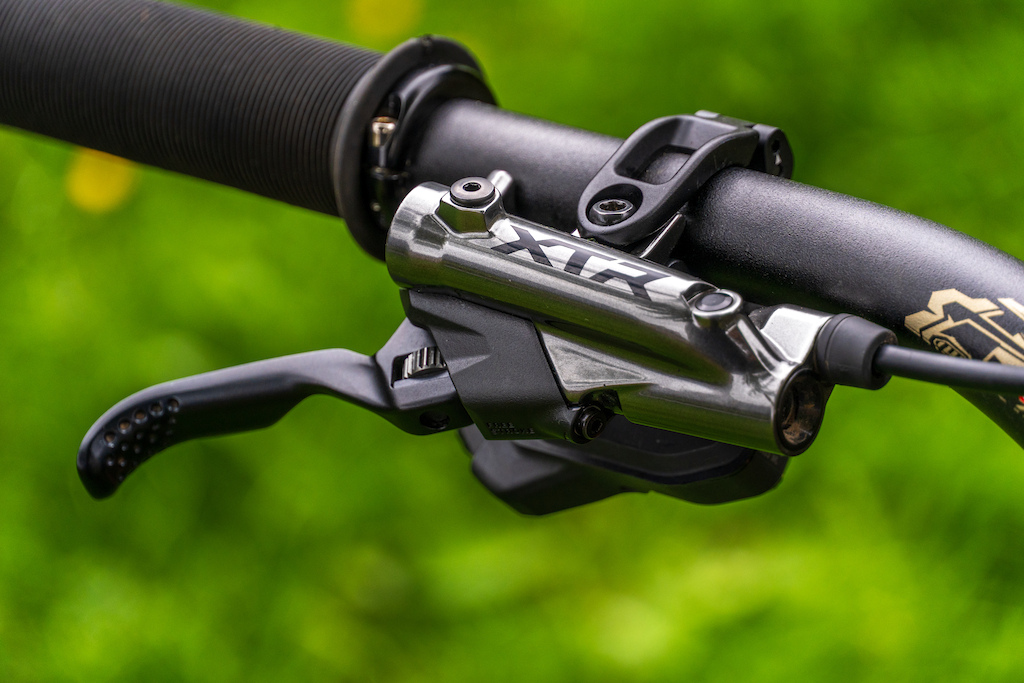
What Tools Do You Need to Replace Bicycle Disc Brakes?
Here’s a list of tools you’ll need before starting:
- Allen keys (usually 4mm or 5mm)
- T25 Torx wrench (for rotor bolts)
- Clean rag and isopropyl alcohol (for cleaning)
- New brake pads (compatible with your brake model)
- Pad spreader or plastic tire lever (for piston reset)
- Torque wrench (recommended)
- Optional: bike stand for easier access
Step 1: How to Check Your Brake Pads for Wear
- Look inside the brake caliper to inspect the pads—no need to remove the wheel.
- If the pad material is less than 1mm thick or unevenly worn, they need replacing.
- Pull the brake lever:
- If it pulls close to the handlebar or feels soft, the pads may be worn—or the brake may need bleeding (hydraulic systems).
- If it pulls close to the handlebar or feels soft, the pads may be worn—or the brake may need bleeding (hydraulic systems).
Common signs of worn pads:
- Squealing or grinding noise
- Metallic scraping
- Weak stopping power
Step 2: How to Remove the Wheel for Access
To remove the wheel safely:
- For thru-axle systems: Loosen and remove the axle, then slide the wheel out.
- For quick-release systems: Open the lever and gently remove the wheel.
Important: Do not squeeze the brake lever with the wheel removed. It can cause the pistons to close and make reinstallation difficult.
Step 3: How to Remove Old Brake Pads
- Locate and remove the retaining pin or bolt:
- Use an Allen key or pliers (depending on pin type).
- Use an Allen key or pliers (depending on pin type).
- Slide out the old pads—wiggle gently or use a small tool if needed.
- Inspect for signs of glazing, uneven wear, or exposed backing plates.
- Clean the pistons gently with a lint-free cloth and isopropyl alcohol.
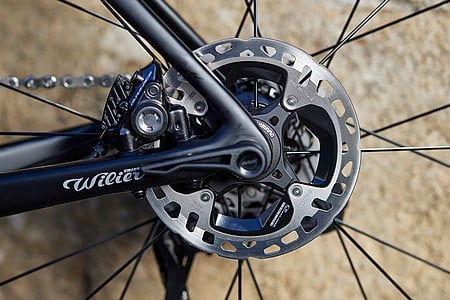
Step 4: How to Clean the Rotor and Caliper
- Use isopropyl alcohol and a clean rag to wipe down the rotor and caliper.
- Avoid touching the rotor surface with bare fingers.
- Check for:
- Rotor warping (spin the wheel and watch for wobble)
- Deep grooves or burn marks
- Minimum thickness (stamped on rotor, measure with calipers if needed)
- Rotor warping (spin the wheel and watch for wobble)
Step 5: How to Install New Brake Pads
- Use a pad spreader or plastic tire lever to push the pistons back into the caliper.
- Slide in the new pads and secure them with the original bolt or pin.
- Make sure the pads sit evenly and the retaining clip (if present) is reinstalled.
Tip: Always use brake pads that match your brand and caliper model (e.g., Shimano, SRAM, Tektro).
Step 6: How to Reinstall the Wheel and Align the Caliper
- Carefully reinstall the wheel—make sure the rotor sits between the brake pads.
- Tighten the thru-axle or quick-release lever securely.
- Squeeze the brake lever several times to move the pistons and seat the pads.
- If there’s rubbing or squealing:
- Loosen the caliper mounting bolts
- Squeeze the brake lever and hold
- Retighten the bolts while the lever is held
- Loosen the caliper mounting bolts
Step 7: How to Bed In New Brake Pads
Why bedding in matters: This process improves braking power and prevents uneven pad wear or noise.
To bed in your pads:
- Find a safe, flat area.
- Ride to 10–15 mph.
- Gently brake to a near-stop (without skidding).
- Repeat 10–15 times.
Avoid hard stops during bedding in.
Optional: How to Replace a Worn Rotor
If your rotor is warped or too thin:
- Use a T25 Torx wrench to remove the rotor bolts.
- Clean the new rotor with isopropyl alcohol before installation.
- Tighten the new rotor bolts in a star pattern to ensure even pressure.
- Torque the bolts to 4–6 Nm (check manufacturer specs).
Final Tips: Keep Your Bike Brakes in Top Condition
- Check your brake pads every few hundred miles.
- Keep rotors clean—avoid contamination with oil or grease.
- Listen for early signs like squealing, rubbing, or poor lever feel.
- Always bed in new pads for best performance.
- If unsure, consult a local bike shop.
FAQs About Bicycle Disc Brake Maintenance
Q: How long do disc brake pads last on a bike?
A: Typically between 500–1,000 miles, depending on riding style, terrain, and weather.
Q: Can I replace just the brake pads without bleeding hydraulic brakes?
A: Yes, if no air enters the system and the lever feel is firm. But soft feel after pad replacement may require a brake bleed.
Q: Can I mix brake pad brands?
A: No. Always use pads compatible with your caliper brand and model.

: The Complete Packing List for Cyclists")
